

Thank you for purchasing some of my
SOURDOUGH
STARTER
Lovingly named “Bread Pitt” because he makes
a sexy loaf of bread.
You now have 30 grams of active, happy starter that is ready to bake with whenever you are. Below are my instructions for feeding and suggested place to start for a recipe. Enjoy!
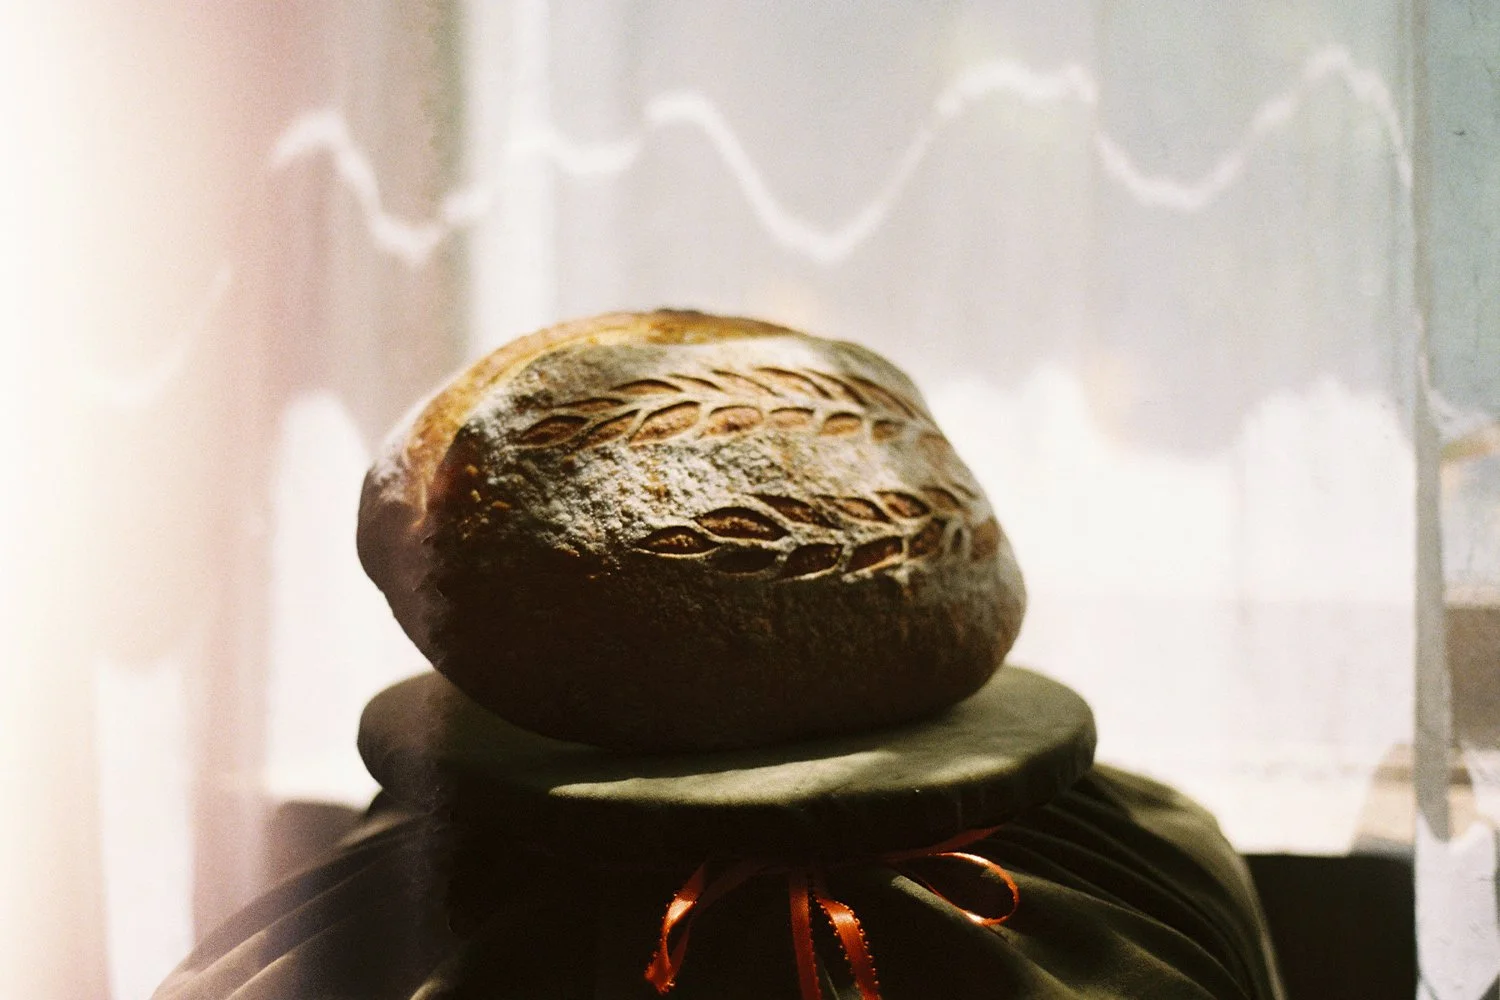
If you are not baking right away…
You can keep the starter in the fridge for quite a while (up to 6 months, and even longer… if there’s no mold then your starter is OK). You can take it out to feed it about once a month to maintain it. After a maintenance feeding, you can put it directly back in the fridge once it’s fed and it will grow very slowly at the lower temperature.
Maintenance feeding ratio should be a 1:1:1, for example:
- 20 grams of starter
- 20 grams of water
- 20 grams of flour
If you want to research the world of sourdough and gain an in-depth understanding of a starter and how to maintain it, I highly recommend The Perfect Loaf as he has a very detailed sourdough starter guide!
-
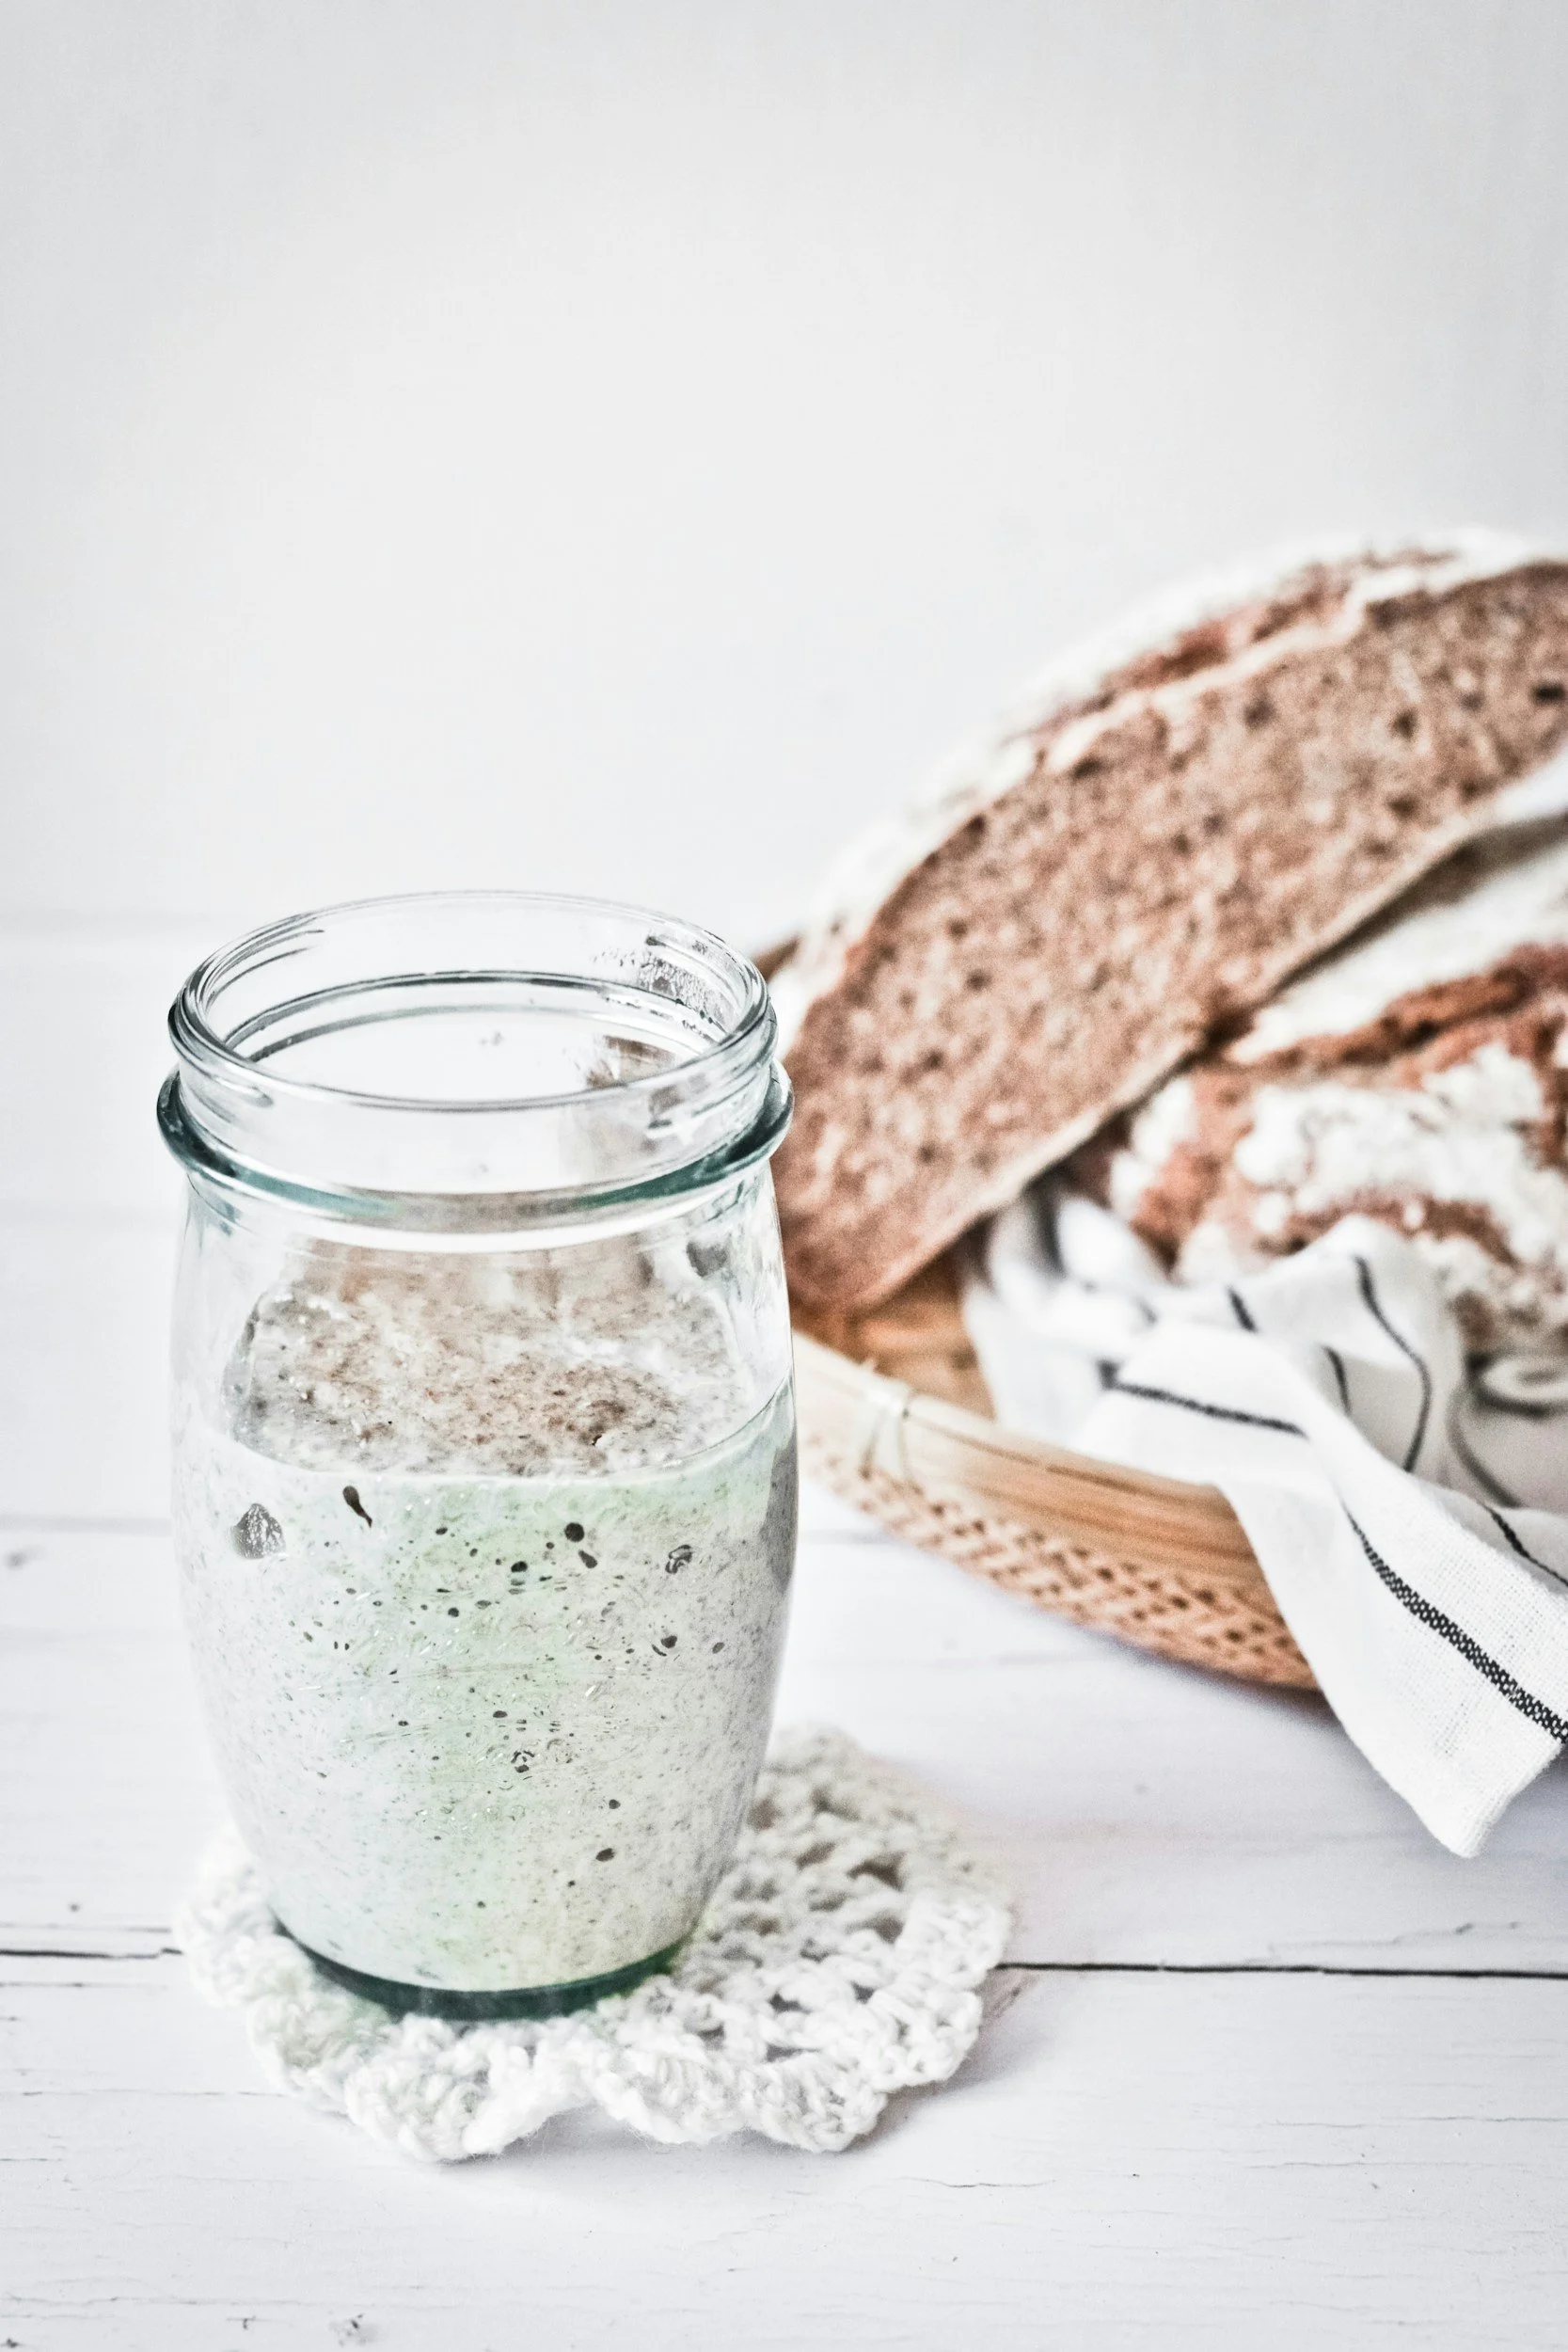
Keep It Happy
- You can and should keep the starter in the fridge until ready to feed. This is helpful to give you time to research what comes next in your sourdough journey.
- When you’re ready, you can move on to the next steps.
- This is a very established starter and will be OK to rest in the fridge for up to 6 months.
** the longer it sits in the fridge, the “hungrier” it will become, and a byproduct of a very hungry starter is a liquid forming on top called “hooch”. This is not harmful, and can either be stirred in to the starter, or poured off. It will have a very strong acetone smell, but the starter is still good! Don’t throw it away!
-
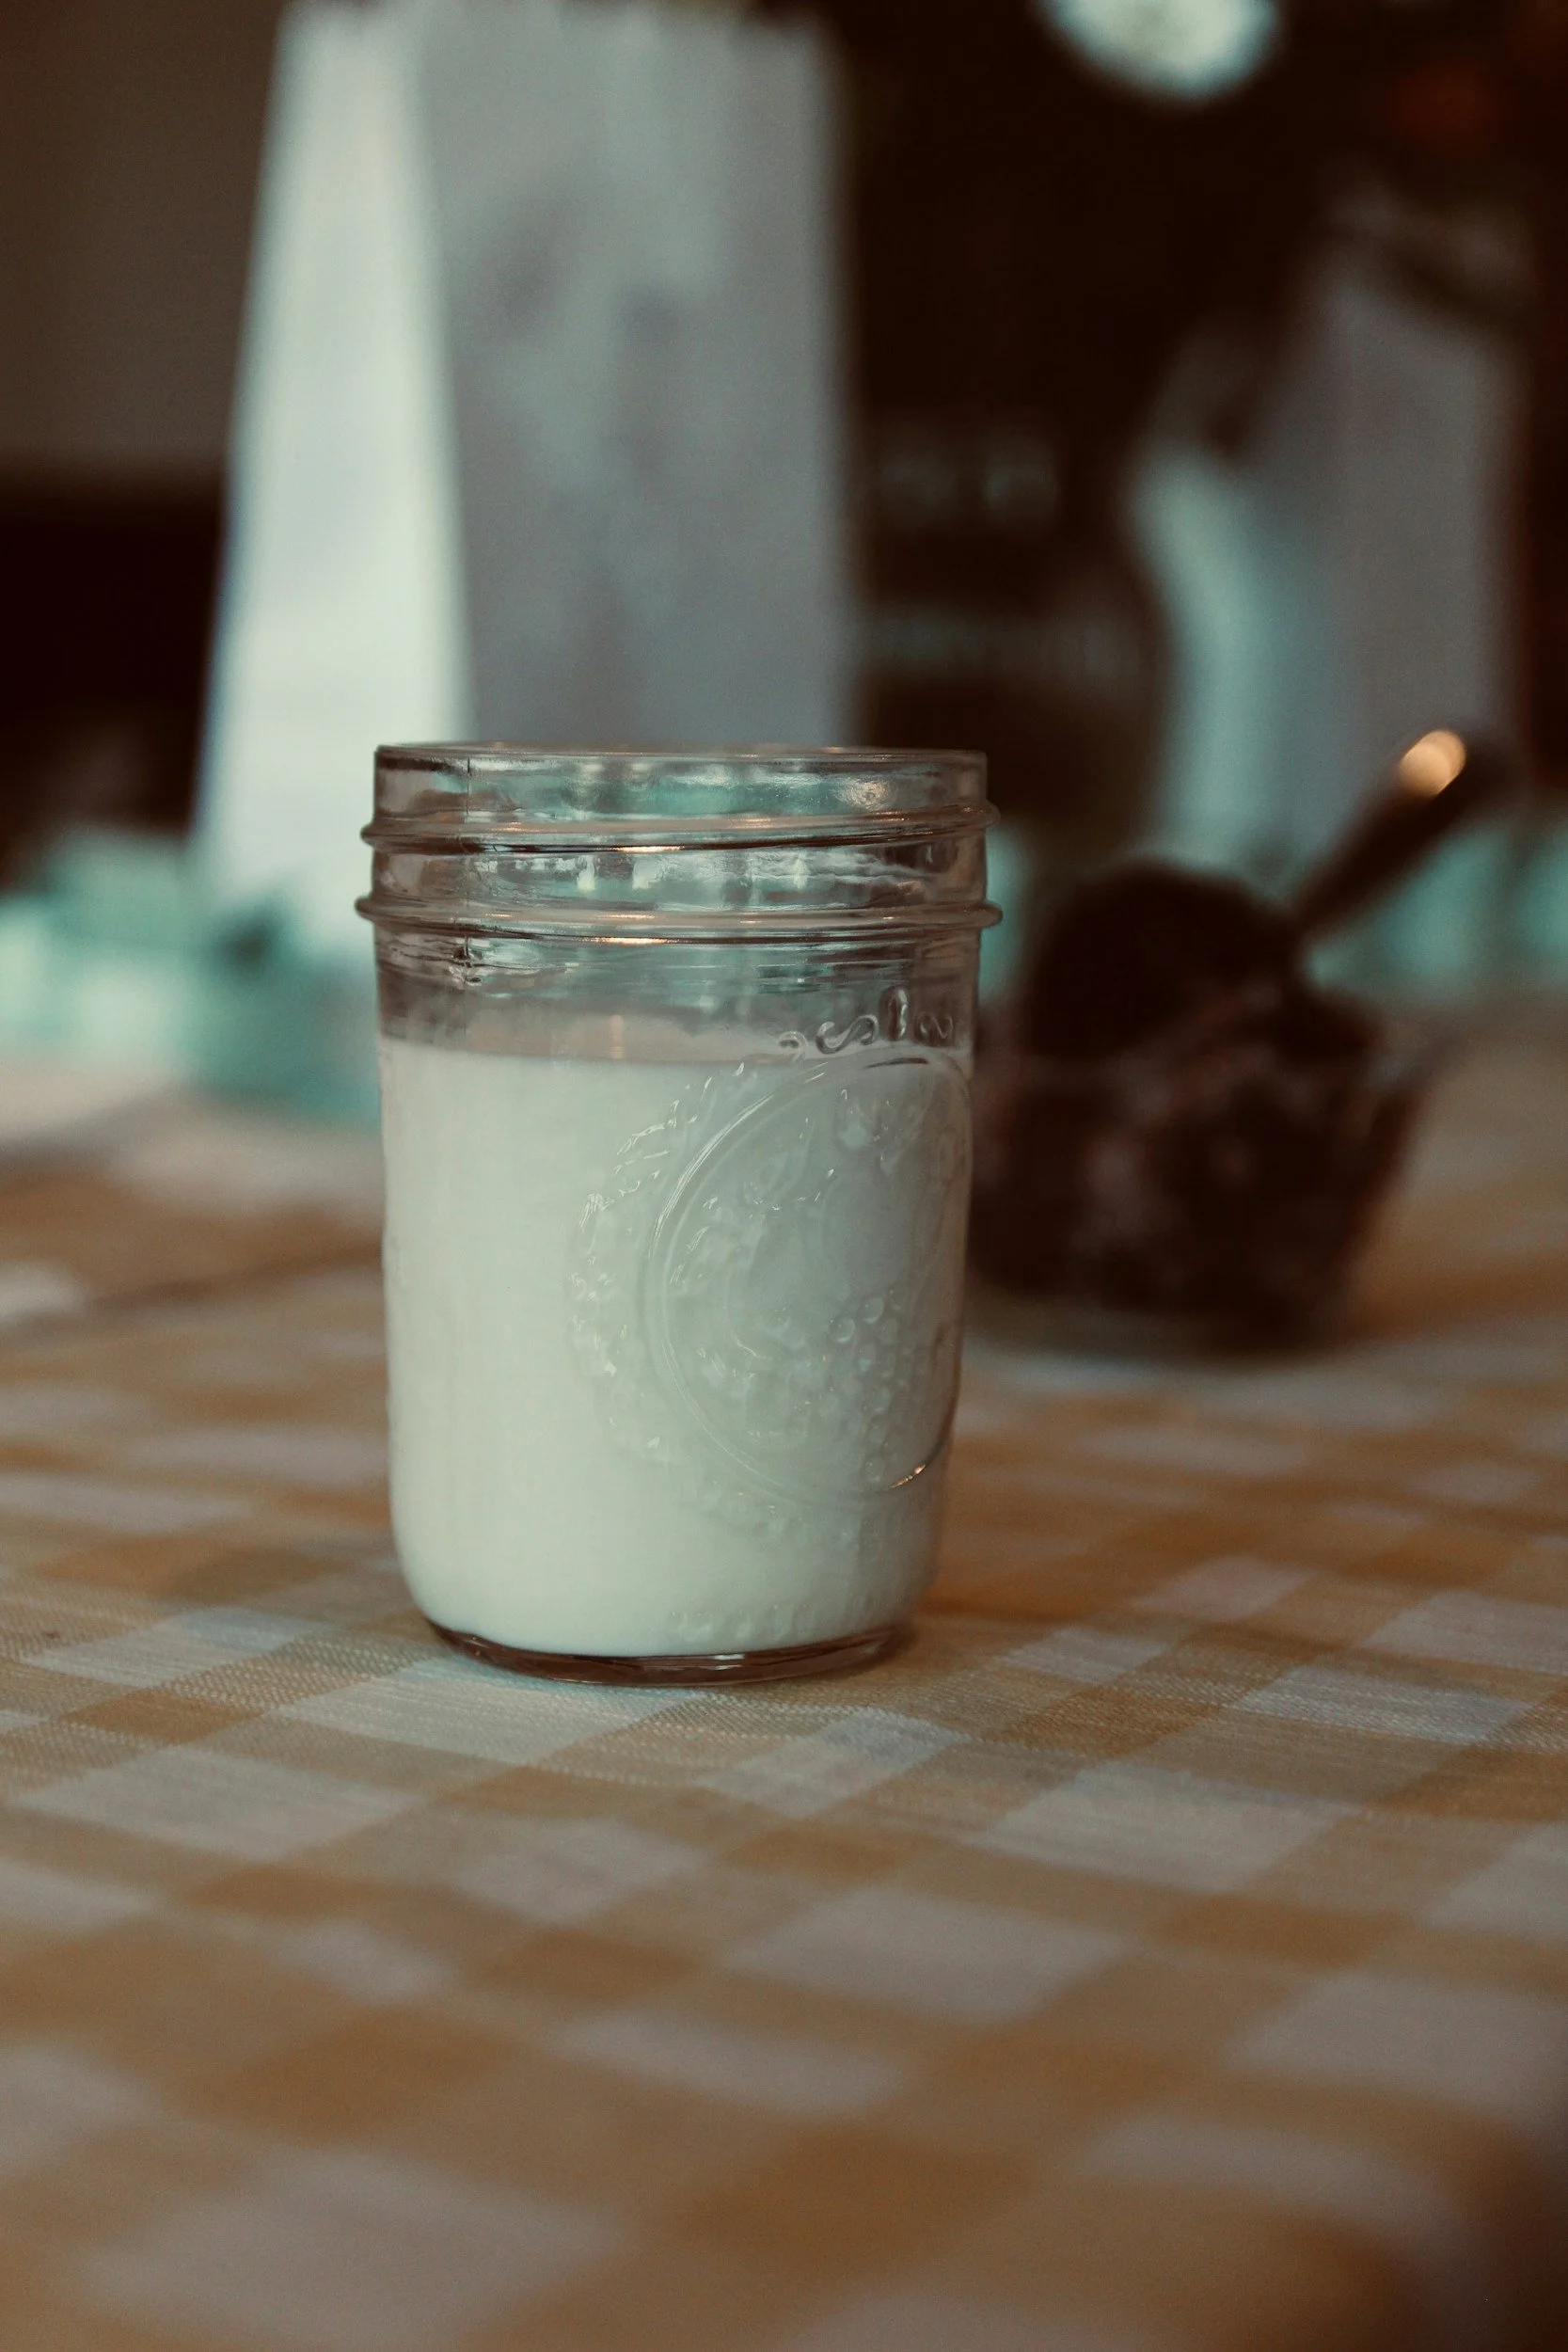
Feed It!
- Remove starter from fridge for a few hours so that it comes to room temperature.
- To a mason jar, add equal parts of room temperature starter, room temperature filtered water, and unbleached all purpose flour and mix until combined and there are no dry pocked of flour.
- If you are feeding the starter to bake with, use your recipe to determine how much to feed (ex: recipe calls for 200g starter, so you would mix 70g starter, 70g water & 70g flour to equal 200g combined, plus a bit extra to keep and continue maintenance feedings with).
** keeping extra starter aside from the starter you bake with is how you can continually keep a stash of starter to feed on its own. This means you will always have starter on hand and can keep it “alive” for many years to come. In the example above, you should have about 10g extra starter, which you can mix with 10g water and 10g flour to feed and maintain it.
- Once mixed, loosely cover with the mason jar lid (do not seal), and let it sit at room temperature to grow.
- Make sure to mark the mixture level with a rubber band or dry erase marker so you can see how much it grows!
-
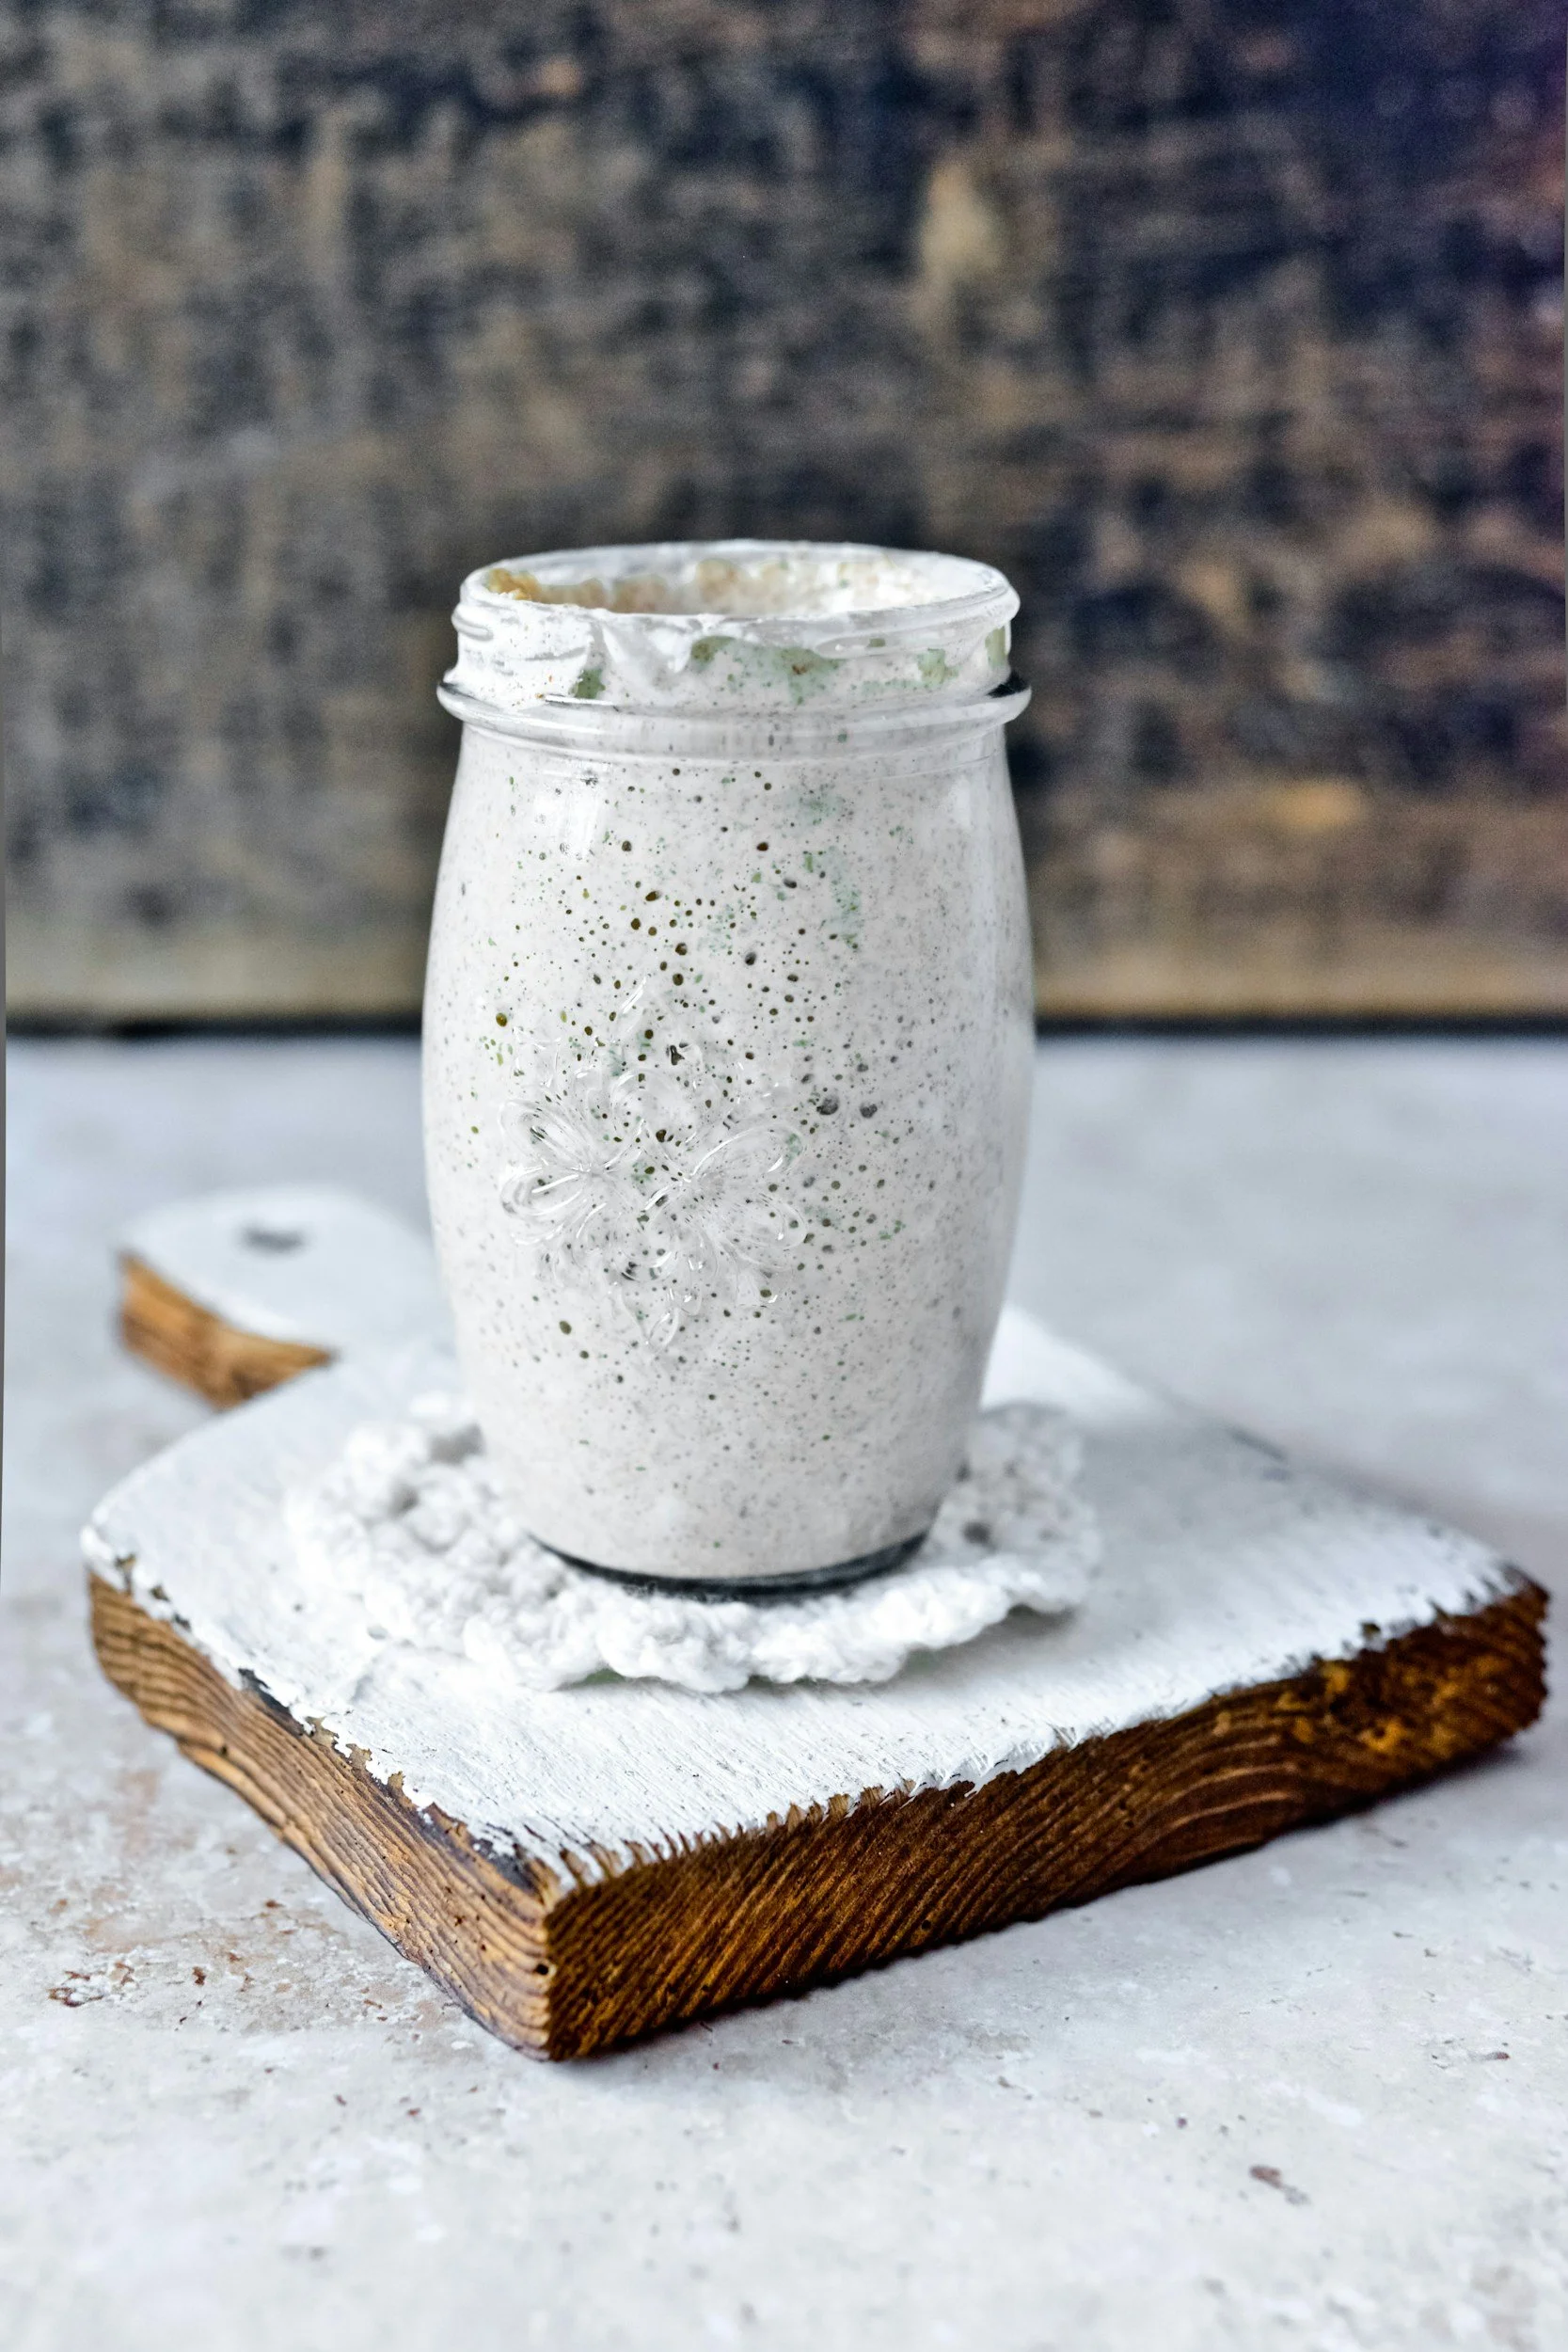
Watch it grow!
- The starter should double (or triple! or quadruple!) in size within 4 to 6 hours, depending on the temperature of your home.
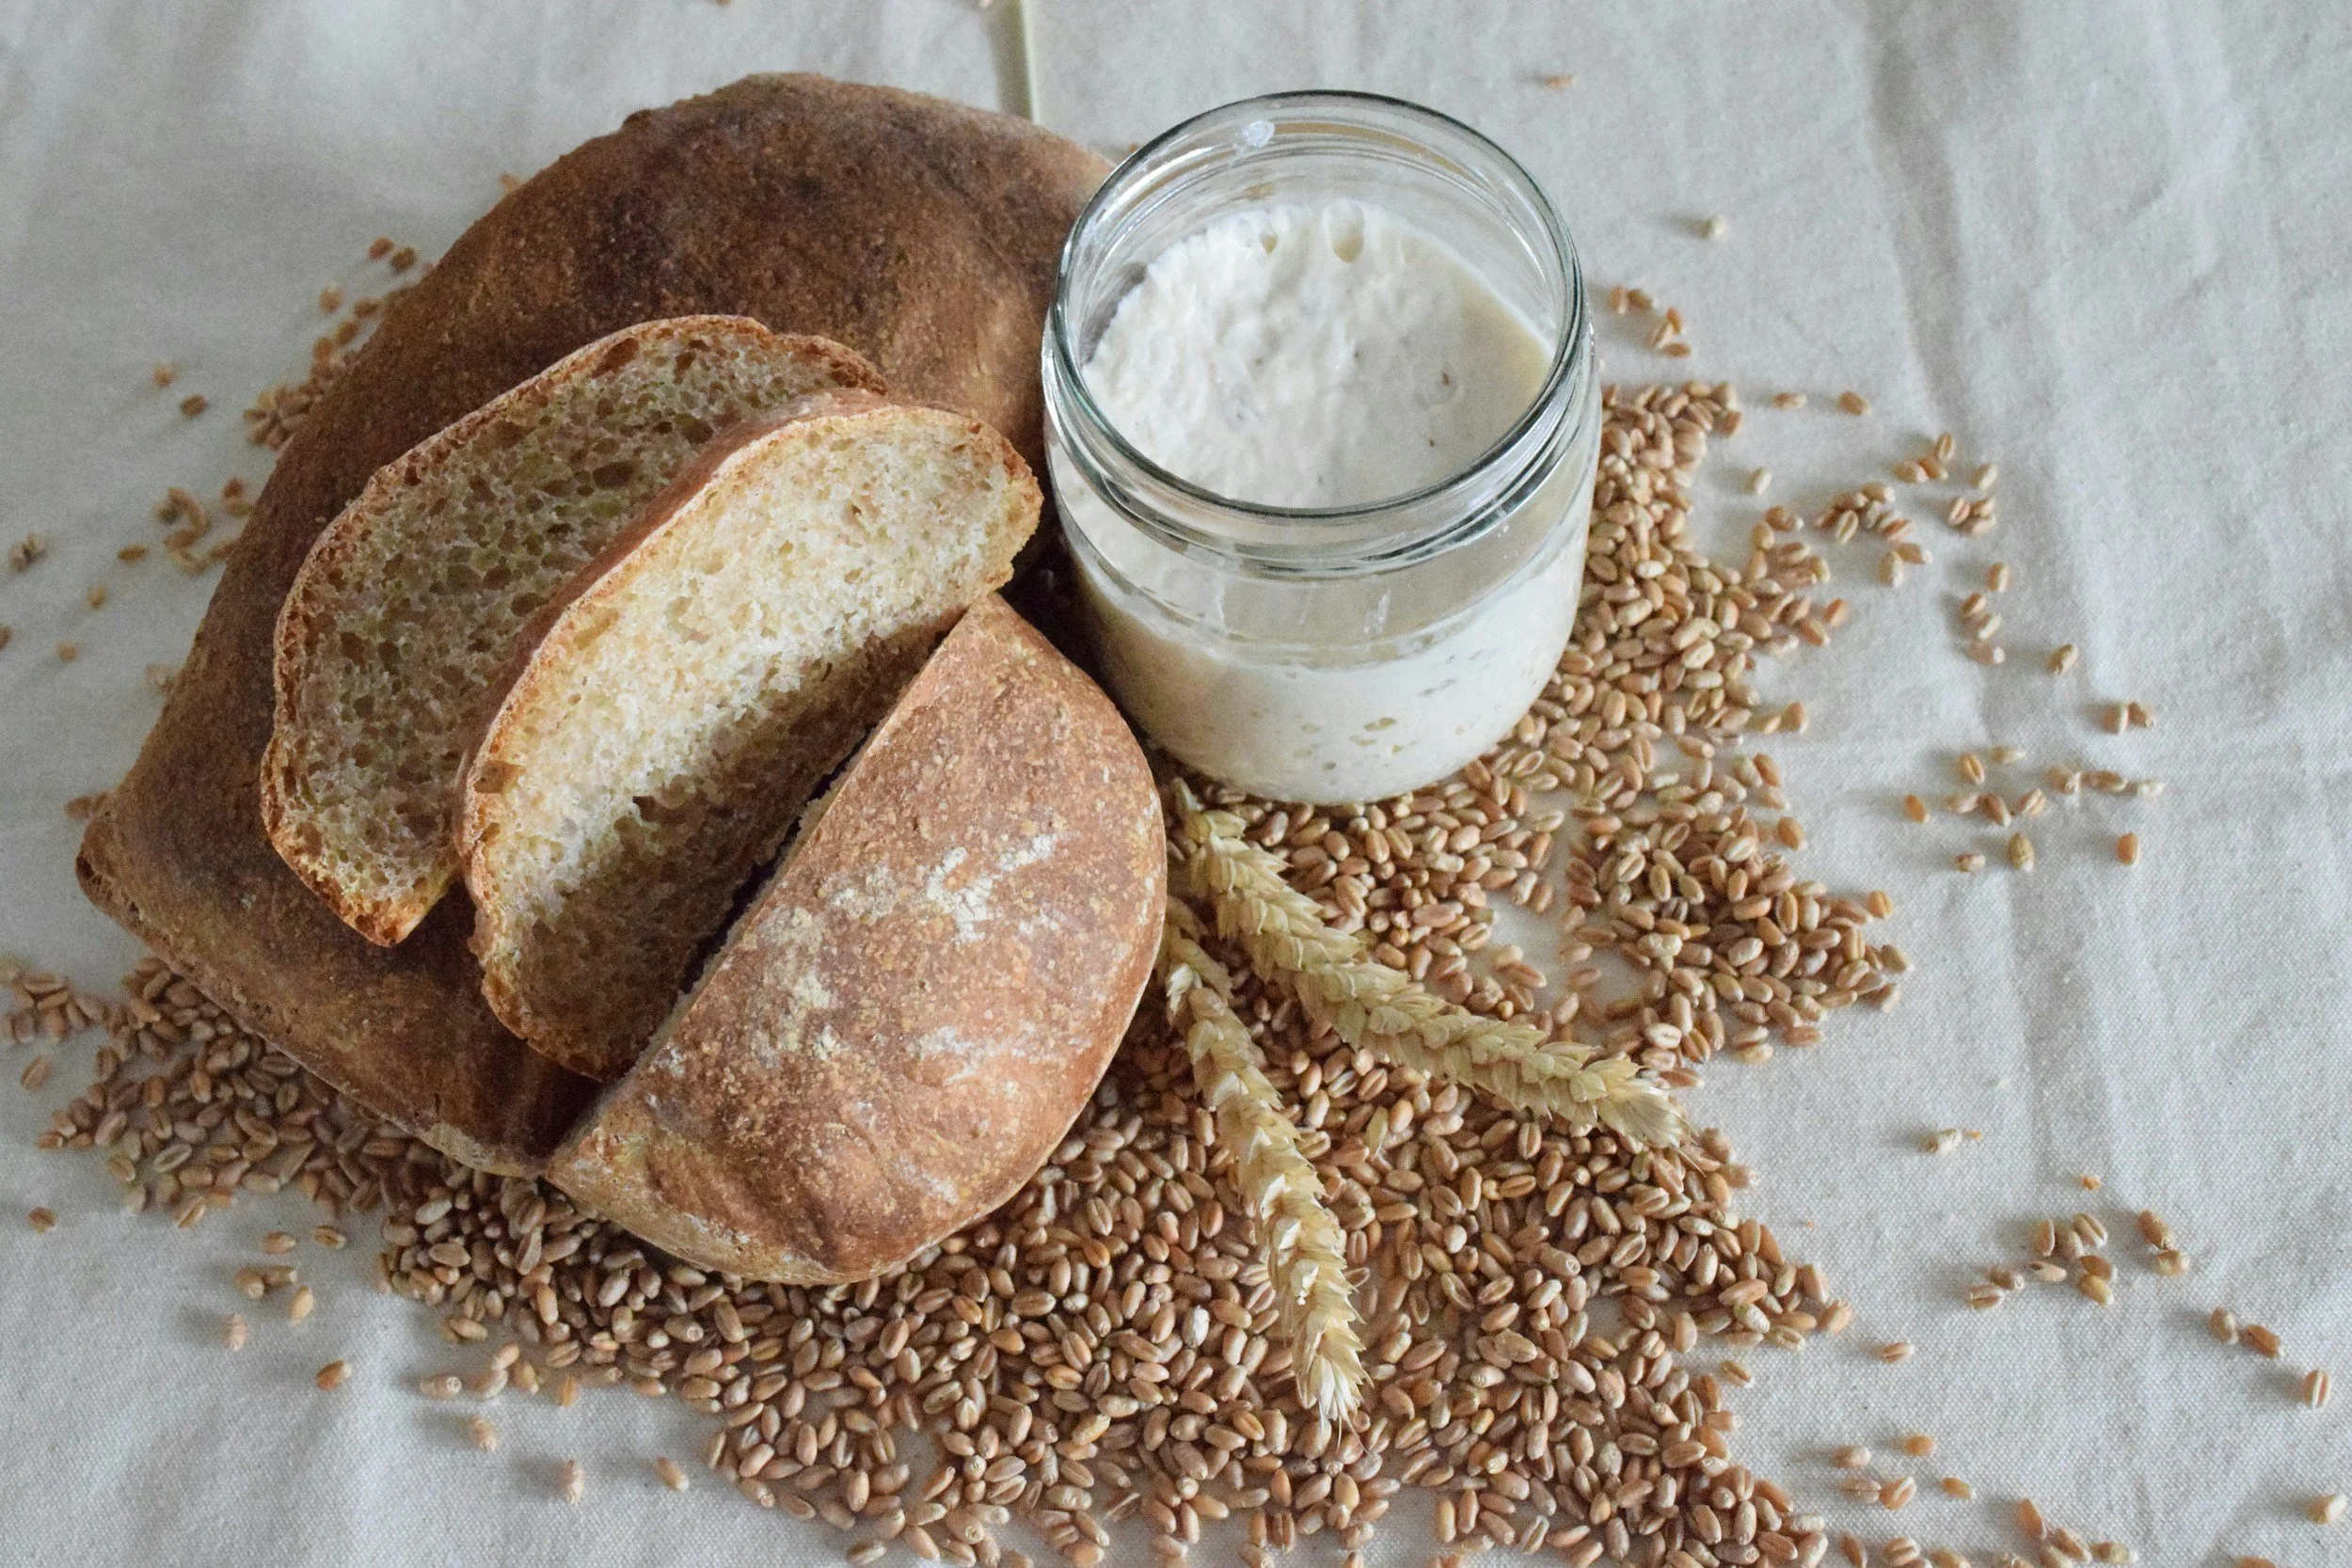
- The starter is at peak growth (aka “ripe starter”) when the surface is no longer domed and smooth, but has leveled off and has bubbles along the surface.
- Once the starter is at peak, it is ready to bake with! Or, if you are not ready to bake and this was just a maintenance feeding, it can go back into the fridge where it will go dormant/go to sleep until the next time you feed it.
-
Advanced Tips
- Starter likes to be at room temperature, so I don’t put mine in the fridge. This is done by feeding it twice a day at a higher ration (1:10:10). I will mix 2g starter, 20g water & 20g flour together in the morning, let it rise and come to peak (which takes about 8-12 hours at this higher ratio), and then repeat the same process again in the evening.